Page 1 of 2
DIGI Road Dash
Posted: Sat Nov 15, 2008 1:45 am
by fourfingers
I have always liked the looks of the cbr600F4i dash, and considered about getting a cheap one, and fitting it to my 30. The thing is I wasn´t very sure about its pickup, and since I like changing sprocket and wheel sizes, I thought I´d be better of with a universal one, with a progamable wheel diameter, with the pickup at the front wheel.
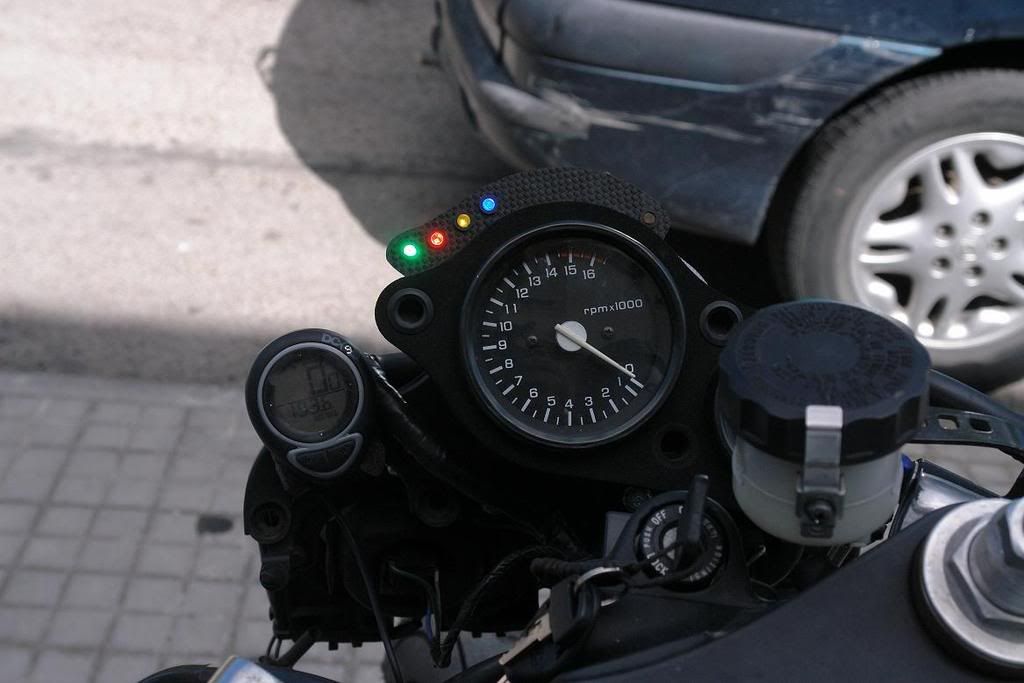
I wanted to keep the analog rev counter, so this is the result.
I made a CF box, and integrated acewell digi dash and nc30 rev counter with led idiot lights.
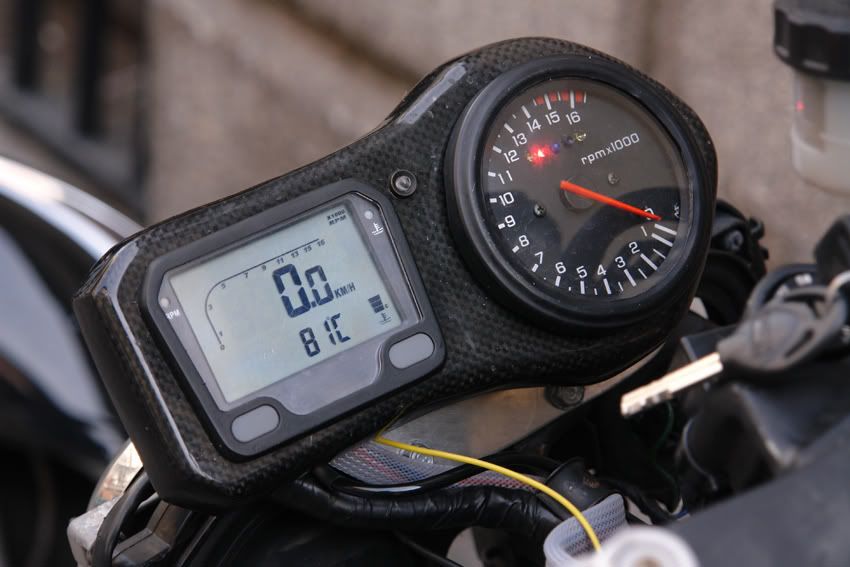
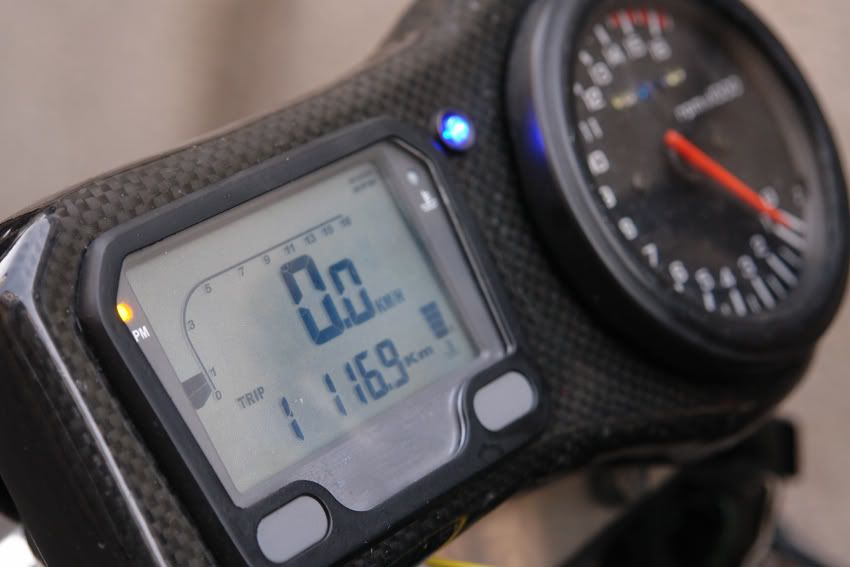
Acewell unit :
RPM: Bar graph, digital and max reading 0-16000
Temp: Bar graph, digital and max reading 50-120ºc, ºF
Speed: digital and max reading 0-300 kmh, mph
Voltage
Odometer: total, trip1, trip2
Temp warning led
Shift light
Re: DIGI Road Dash
Posted: Sat Nov 15, 2008 7:38 am
by wullvfr
good job,looks the part!!!!
where did you purchase the acewell unit?expensive?
william
Re: DIGI Road Dash
Posted: Sat Nov 15, 2008 10:37 am
by superlite
Top looking work there! I love the LEDs in the tacho - very nice touch!
Out of interest, what did you use to mold the carbon surround?
Re: DIGI Road Dash
Posted: Sat Nov 15, 2008 12:21 pm
by fourfingers
Thanks.I bought it from one of the spanish importers( a quad workshop

). it was around 140gbp. They are manufactured in china, and modified to each country importers requierements(uk,de, au, us...). There is a cheaper version 80Gbp ( but rpm bargraph only up to 11000, i should have bought this one, since I am using the analog one). I know there are some of them that will even display gear in use.
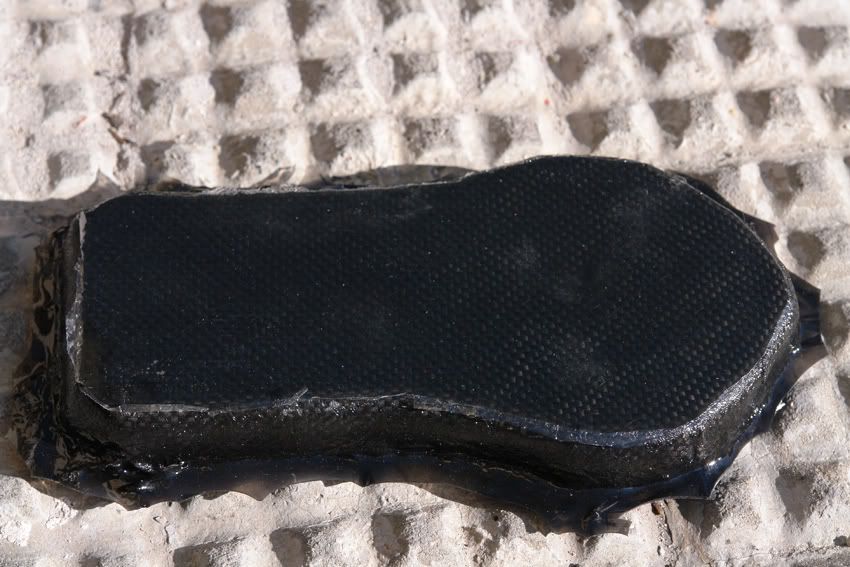
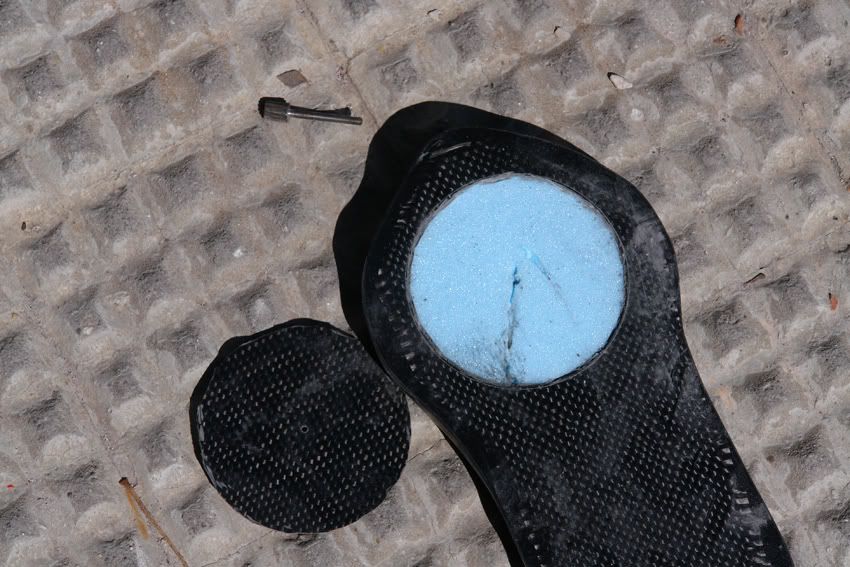
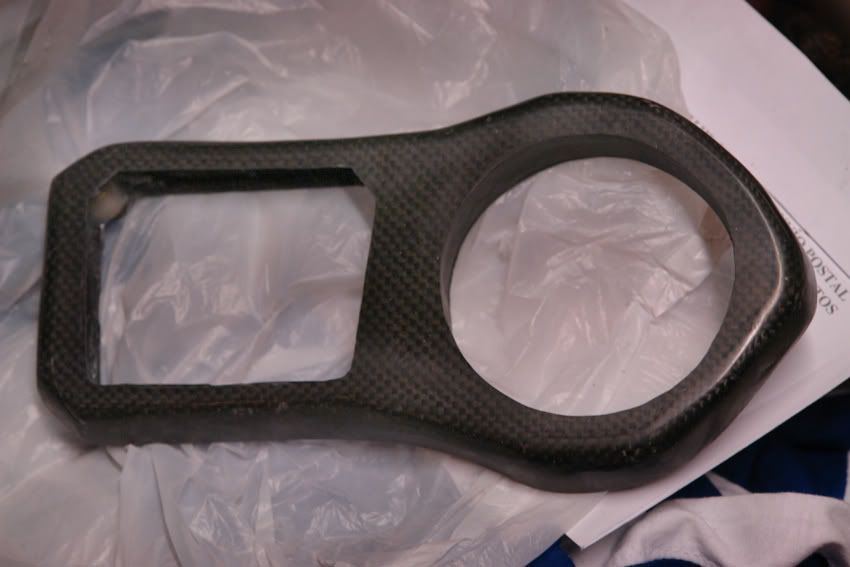
The surround was molded around Styrofoam, blue insulation stuf. It is easy to sand and cut. then i got the holes cut, and emptied the surround using a dremel tool. Some acetone will also melt the remaining foam. Epoxied threaded inserts for the support silentblocks and digi screen backplate, epoxied rpm inner sourround, in order to make digi dash compartment waterproof. 3 day job, including cable resoldering and wiring it up to the bike.
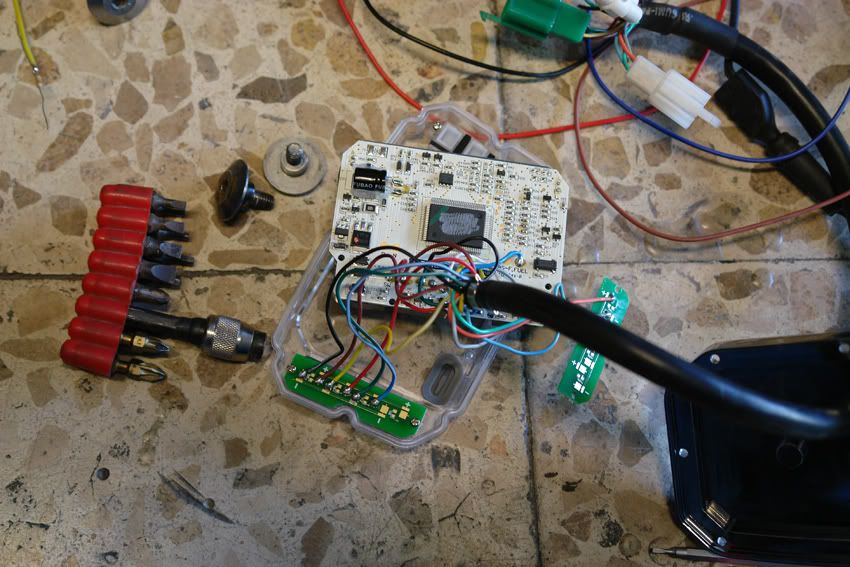
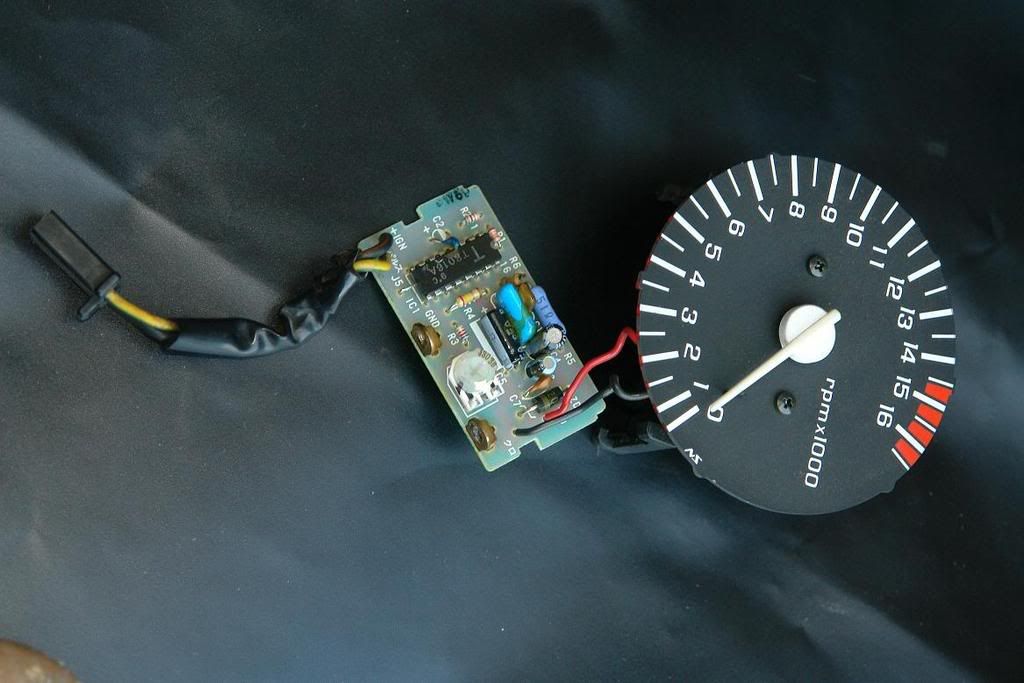
Here are some pics of the acewell out of its original metal casing.
Also discovered how to reset the "unresetable" total odometer while I was tinkering with it.

Re: DIGI Road Dash
Posted: Mon Nov 17, 2008 9:42 am
by Cammo
Top job!!

:)
One of the best looking dashs I've ever seen, fitting with the bike.
Re: DIGI Road Dash
Posted: Mon Nov 17, 2008 11:29 am
by fourfingers
Really nice to hear it from you. been following your work from the antipodes. Took me a while to find you in this new site , Cammo :D . I am currently trying to finish my road 30 ( painting fairings ang fixing gearbox), plus my recently adquired track rvf with a blown engine.... lots of work
Re: DIGI Road Dash
Posted: Mon Nov 17, 2008 3:12 pm
by chazmonkey
That looks too cool for school!

Re: DIGI Road Dash
Posted: Mon Nov 17, 2008 9:37 pm
by Speedy
Very, very, very nice!!!
Wish I had the talent & £££ to do something like this!

Re: DIGI Road Dash
Posted: Thu Jan 29, 2009 5:33 pm
by Spike16
Looks awesome but how did you wil the LED's in, i really fancy doing this to mine, is it simple?
Re: DIGI Road Dash
Posted: Thu Jan 29, 2009 8:19 pm
by fourfingers
It takes some time, and you must be very carefull, specially at tacho reasembly.
No special tools needed, but some electronics knowledge will be very usefull.
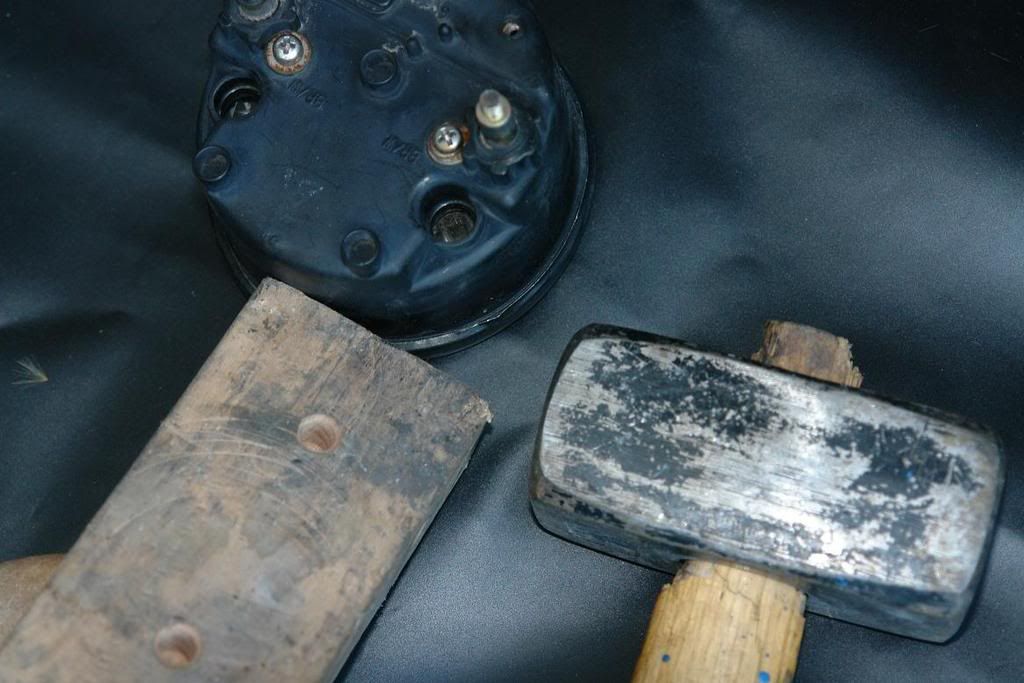
Disassembly tools
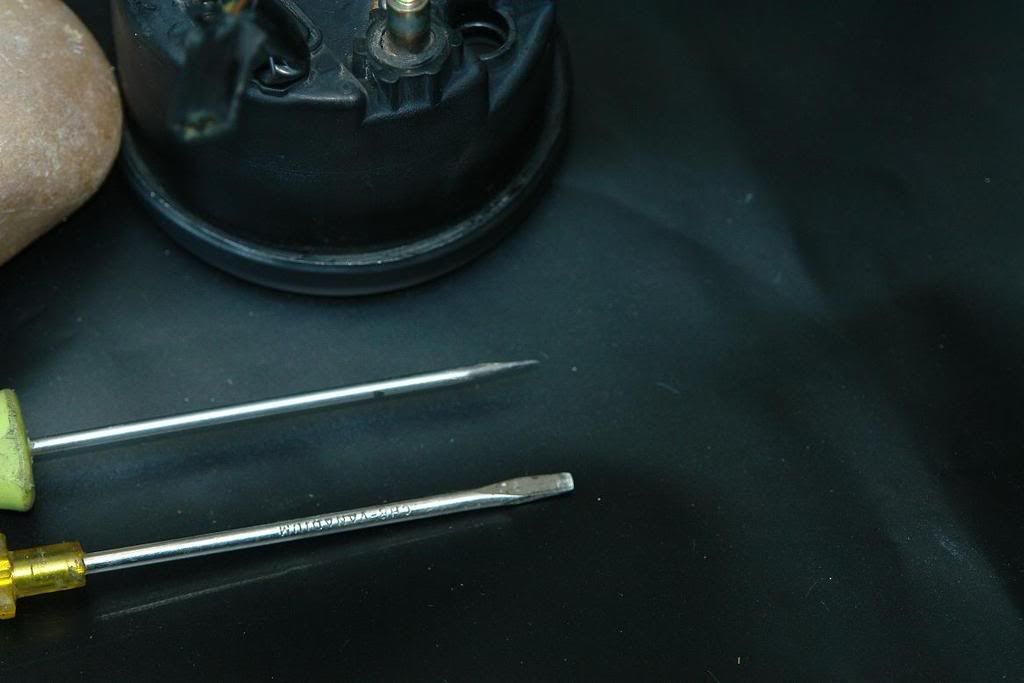
Can of sardines technique
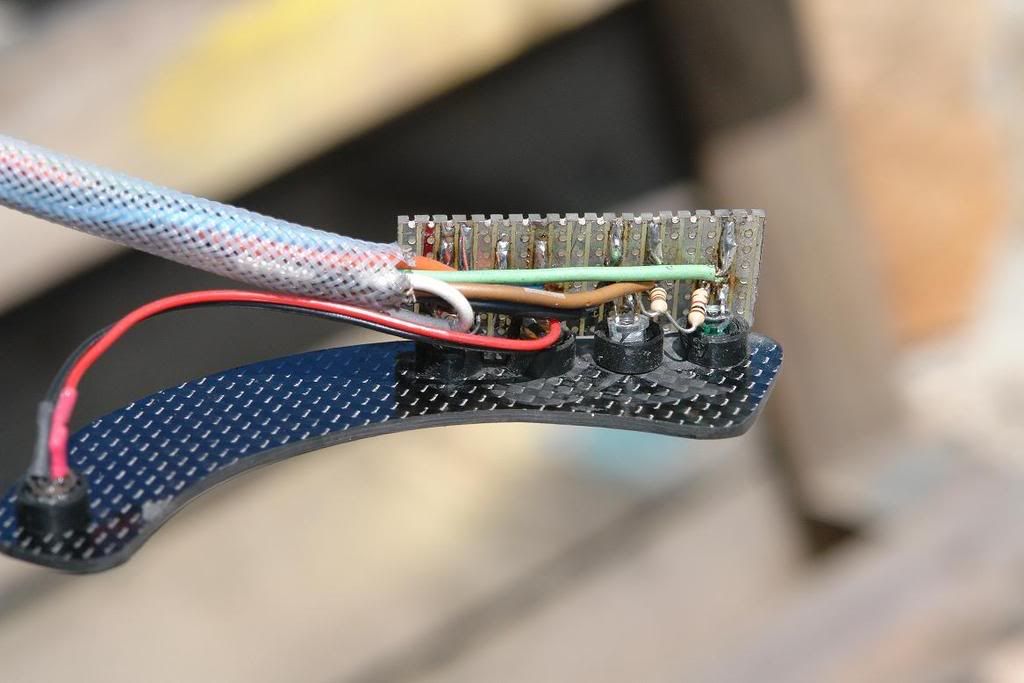
Led Stuff.
Its a shame I was in a hurry and didn´t take any pictures from this step. I used some christmas tree small (3mm) leds. These were very bright, I even had to shade the blue(h beam). There is not much space to fit them, I used a veroboard, some thin computer cables and a plug to fit the loom, from a very nice guy(koyacat at xbay).
There are a couple of things to take into account before you start the assembly: Leds are polarity sensitive, so you must check cable polarity ( if reversed they wont lit) This also affects the turn signal: Each side changes polarity, so you will need two LEDS one for each side( a single bulb will lit independent of polarity, a led will not). I used 1.5Volt(standard) leds that must be limited with a resistor when using 12-14volt source. Resistor value 600ohm I think... I can check my notes if you need it
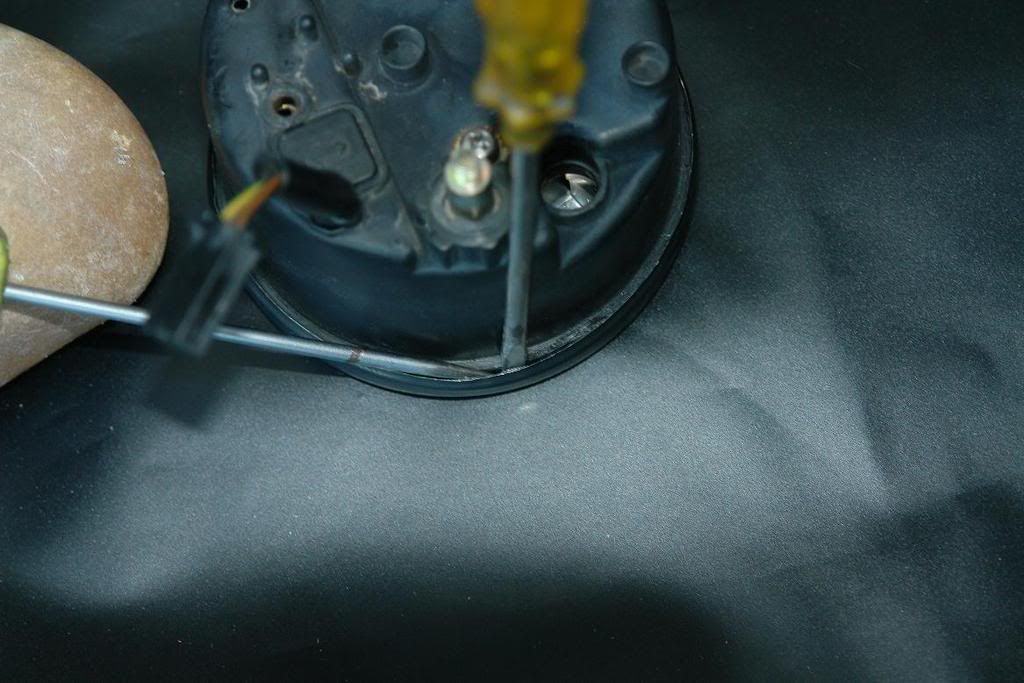
Tacho guts...
Once you get them out, you must 1.take off the tacho needle. 2.unscrew both tacho panel screws. 3. Drill led holes to the panel 4. glue the led assembly to the panel and reassemble.
Assembly, you can use some plyers and some cloth(to prevent front damage) and finish it up with a piece of wood a hammer and some cloth. Very carefull in this step, I got a broken glass once.
Here are some pics of my previous led setup, it was bigger 5mm Leds and external. Also on veroboard
Cheers