Time for a strip down on the Bim
Forum rules
Please can you post items for sale or wanted in the correct For Sale section. Items / bikes for sale here will be removed without warning. Reasons for this are in the FAQ. Thanks
Please can you post items for sale or wanted in the correct For Sale section. Items / bikes for sale here will be removed without warning. Reasons for this are in the FAQ. Thanks
-
laminator

- NWAA Supporter

- Posts: 220
- Joined: Wed Jan 26, 2011 7:51 pm
- Bike owned: 2tk,NC30, YB7
- Location: Midlands
Time for a strip down on the Bim
I've got a thread running on another site about a few problems with the YB7. As it's a 400cc Yam engined bike I thought I'd start a thread here as well.
WARNING - I've been taking loads of pictures
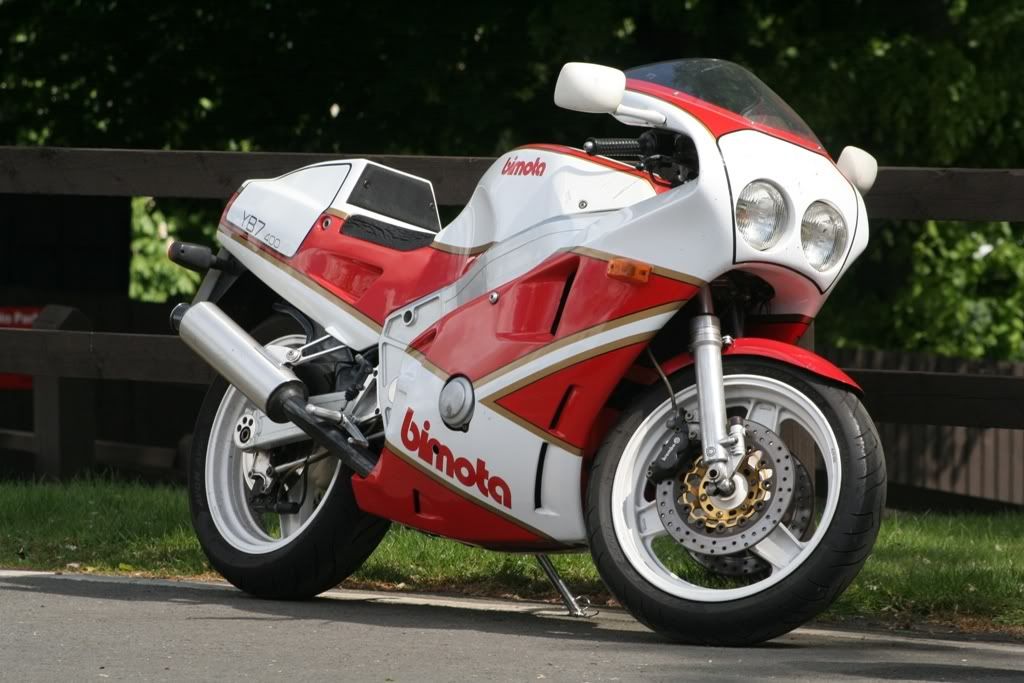
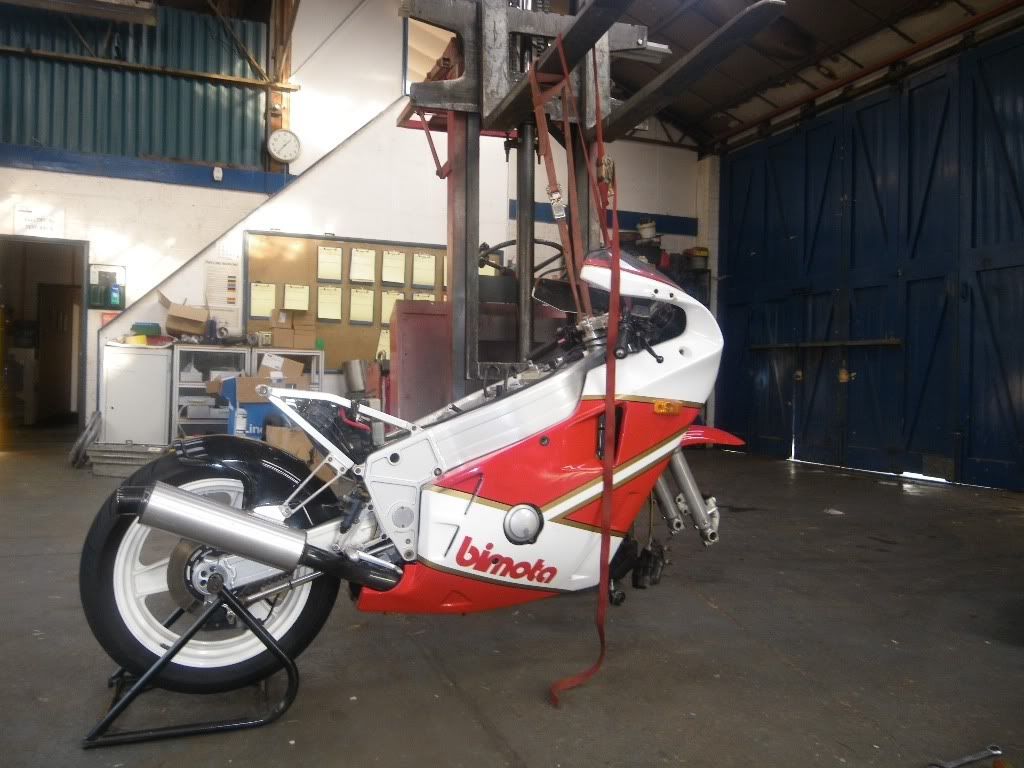
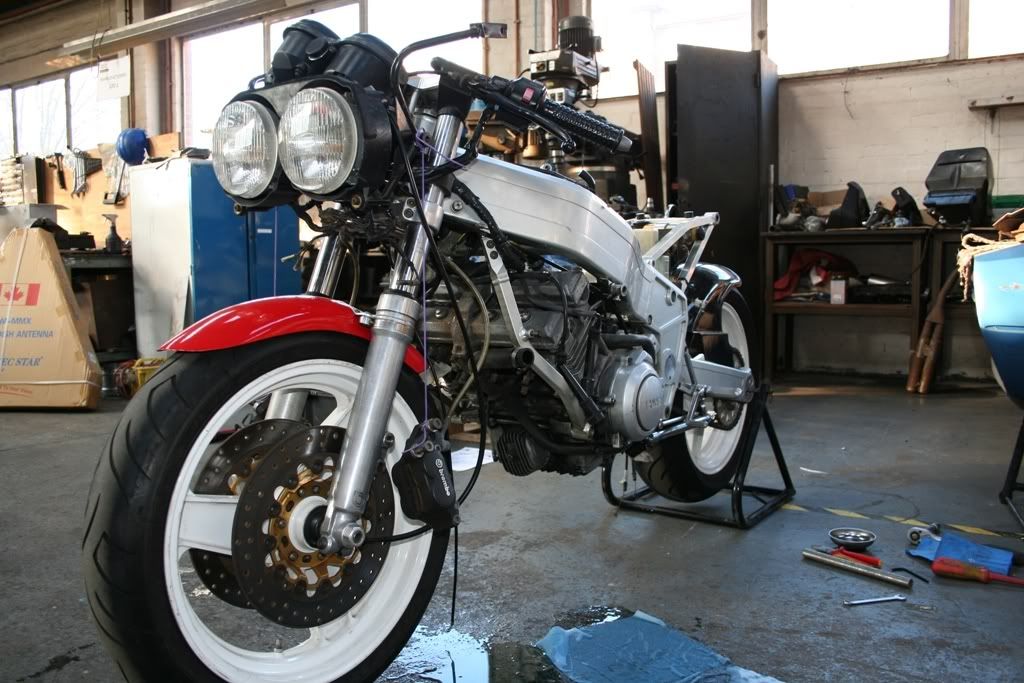
The YB7 ran fine for a while after a carb balance when I first got it, I've not really done too many miles on it to-date. The 400GB Cosford meeting, Cadwell, and a few other runs. Here she is at Cadwell on iirc the first outing.
The bike started running rough, I found a problem with the coils so I replaced them. The bike was still bogging down and then not starting. I decided to have another look. I loaded it in a van and got it down to the workshop.
I took the carbs off to give them a strip down and clean. When I looked down the inlets I spotted a problem. I got a torch for a better look and the diagnosis isn't good. It's time to get the engine out I think.
Best get her clothes off.....
WARNING - I've been taking loads of pictures
The YB7 ran fine for a while after a carb balance when I first got it, I've not really done too many miles on it to-date. The 400GB Cosford meeting, Cadwell, and a few other runs. Here she is at Cadwell on iirc the first outing.
The bike started running rough, I found a problem with the coils so I replaced them. The bike was still bogging down and then not starting. I decided to have another look. I loaded it in a van and got it down to the workshop.
I took the carbs off to give them a strip down and clean. When I looked down the inlets I spotted a problem. I got a torch for a better look and the diagnosis isn't good. It's time to get the engine out I think.
Best get her clothes off.....
-
laminator
- NWAA Supporter
- Posts: 220
- Joined: Wed Jan 26, 2011 7:51 pm
- Bike owned: 2tk,NC30, YB7
- Location: Midlands
Re: Time for a strip down on the Bim
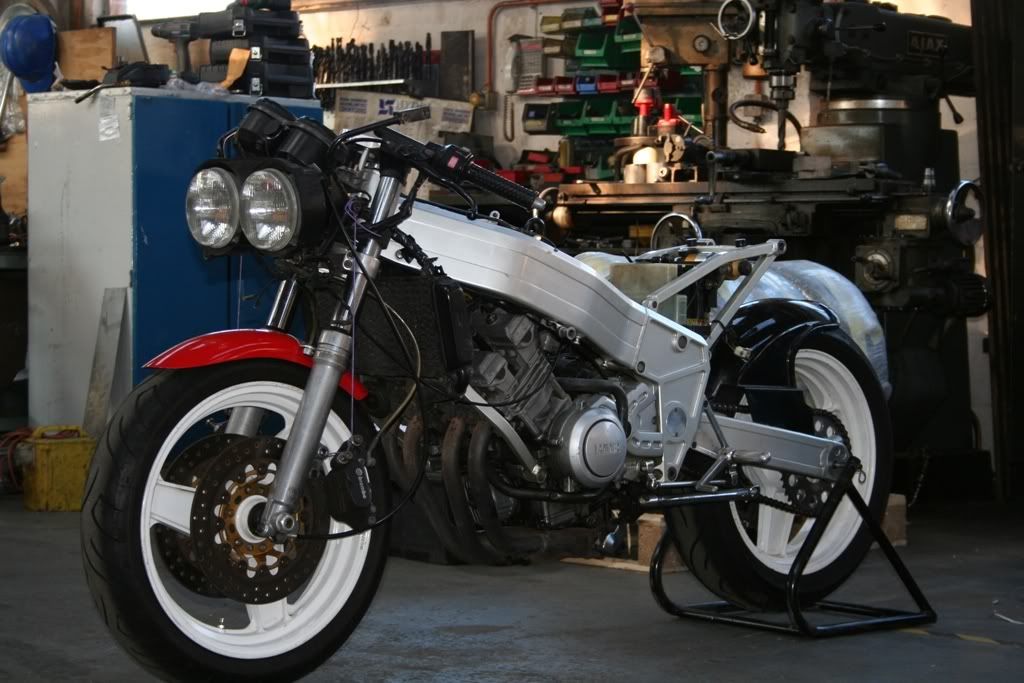
The easiest way, that I've found, to remove the front fairing is to take the front wheel out. As the fairings one piece it's very tricky and a nervous time pulling it apart to get passed the wheel, if left in.
As it's now at the workshop I've got the use of a forklift.
Fairing off and front wheel back in
Ready for disconnecting things.
As it's now at the workshop I've got the use of a forklift.
Fairing off and front wheel back in
Ready for disconnecting things.
-
laminator
- NWAA Supporter
- Posts: 220
- Joined: Wed Jan 26, 2011 7:51 pm
- Bike owned: 2tk,NC30, YB7
- Location: Midlands
Re: Time for a strip down on the Bim
First off, remove the exhaust. Disconnected the exup cables.
Then remove the collars and bottom bracket.
Exhaust off

Exhaust removed. She's starting to shed some weight now.

Then remove the collars and bottom bracket.
Exhaust off
Exhaust removed. She's starting to shed some weight now.
-
laminator
- NWAA Supporter
- Posts: 220
- Joined: Wed Jan 26, 2011 7:51 pm
- Bike owned: 2tk,NC30, YB7
- Location: Midlands
Re: Time for a strip down on the Bim
I drained the fluids, removed the radiator and disconnected the clutch cable.
-
laminator
- NWAA Supporter
- Posts: 220
- Joined: Wed Jan 26, 2011 7:51 pm
- Bike owned: 2tk,NC30, YB7
- Location: Midlands
Re: Time for a strip down on the Bim
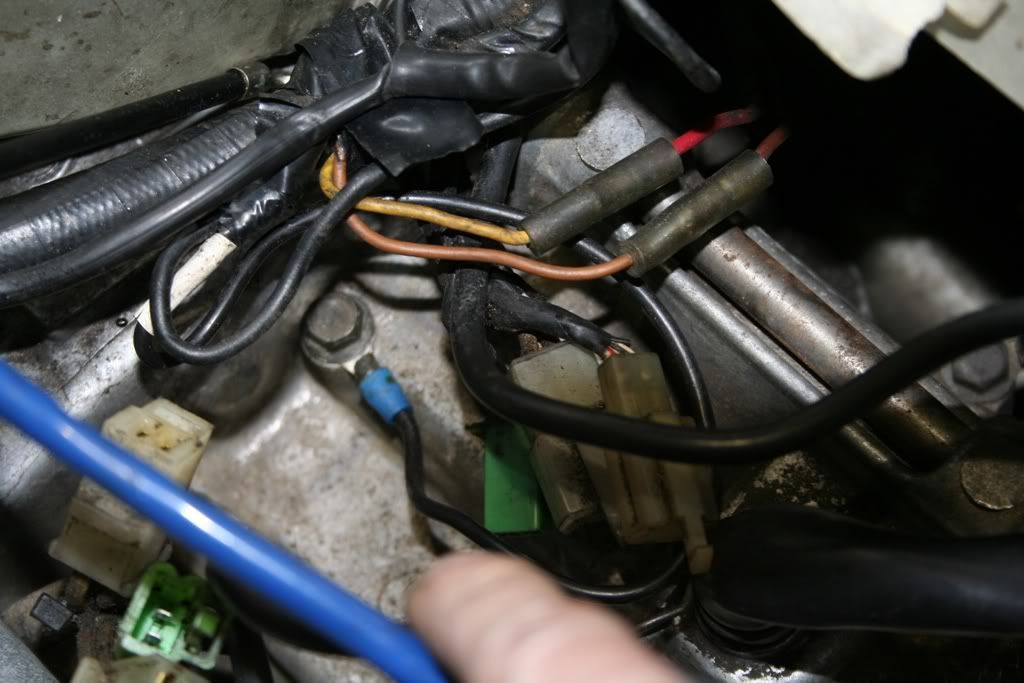
As you can probably tell I've been taking a few photos. None are more valuable then the ones of the wiring. As Bimota use a novel approach to the wiring colour scheme. (it's actually where yamaha/brembo/etc parts are connected)
Light brown to dark brown, close for Bimota. Red to yellow, ahh that's better.
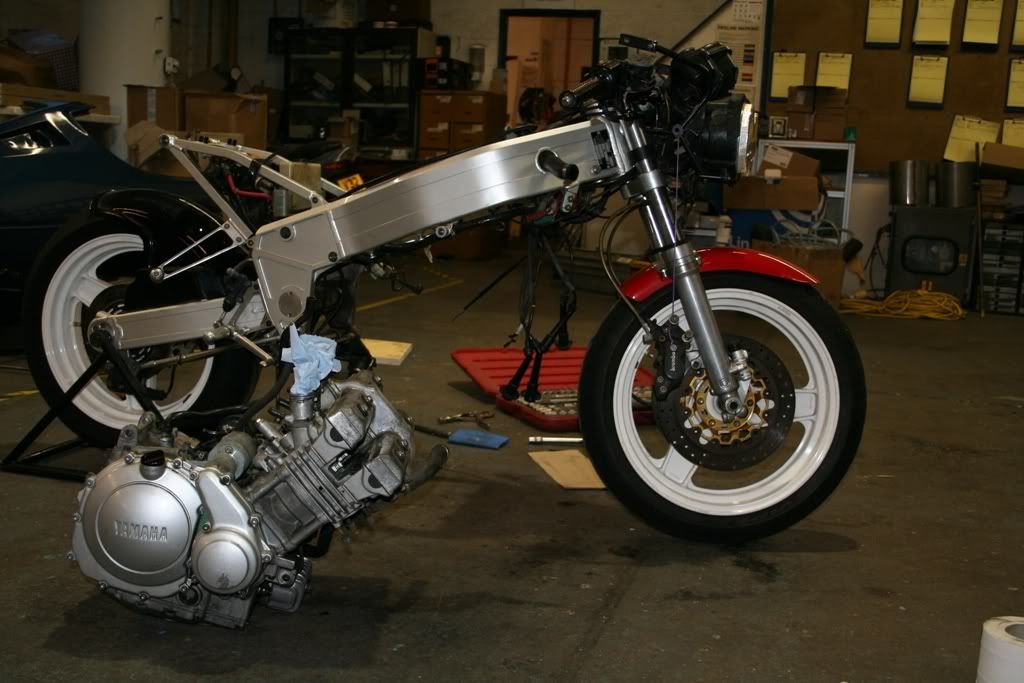
I removed the front engine supports.
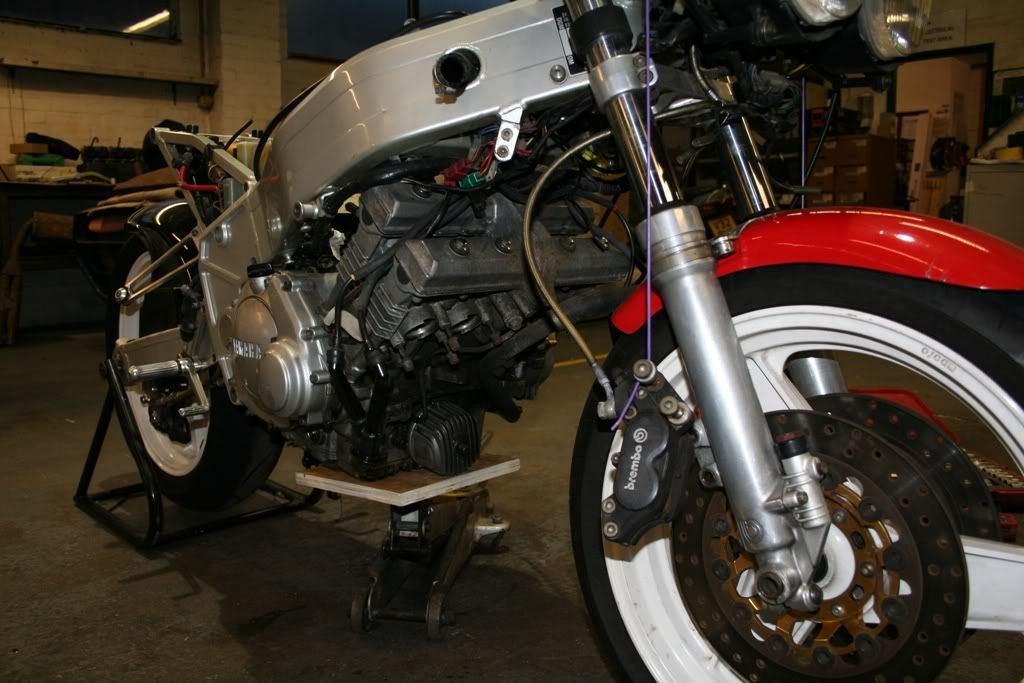
Engines out.
That was it for the night.
Light brown to dark brown, close for Bimota. Red to yellow, ahh that's better.
I removed the front engine supports.
Engines out.
That was it for the night.
-
laminator
- NWAA Supporter
- Posts: 220
- Joined: Wed Jan 26, 2011 7:51 pm
- Bike owned: 2tk,NC30, YB7
- Location: Midlands
Re: Time for a strip down on the Bim
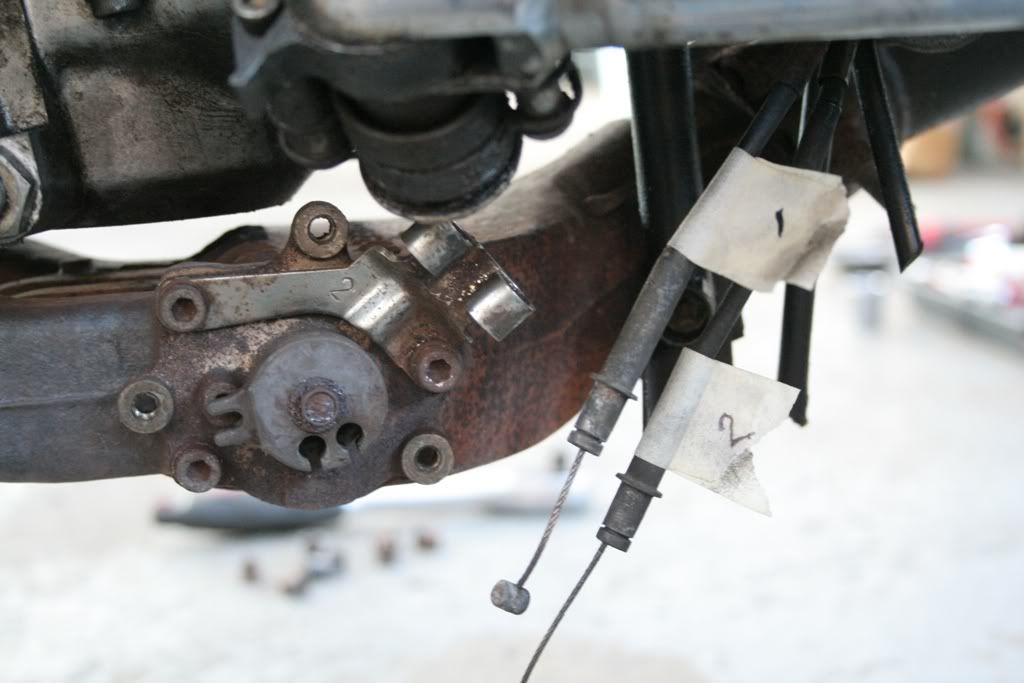
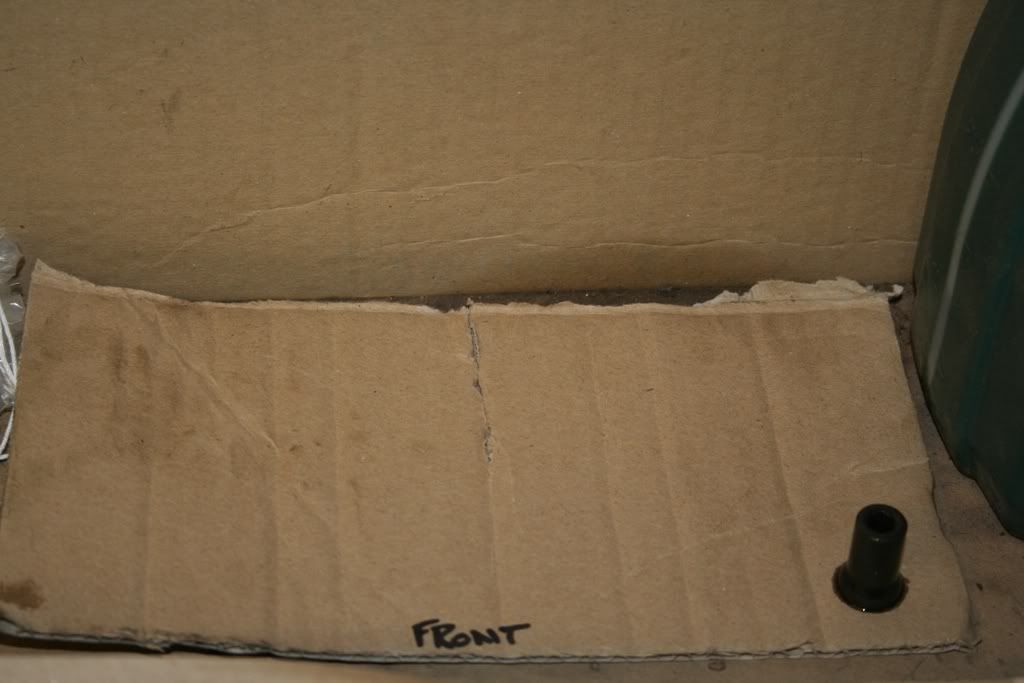
A bit of evidence the engine has been out and worked on. The inlet tubes have been numbered with a marker pen. The engine number is a Bimota number so I know at least the block is original, if not everything else (I've no reason to believe it's not original)
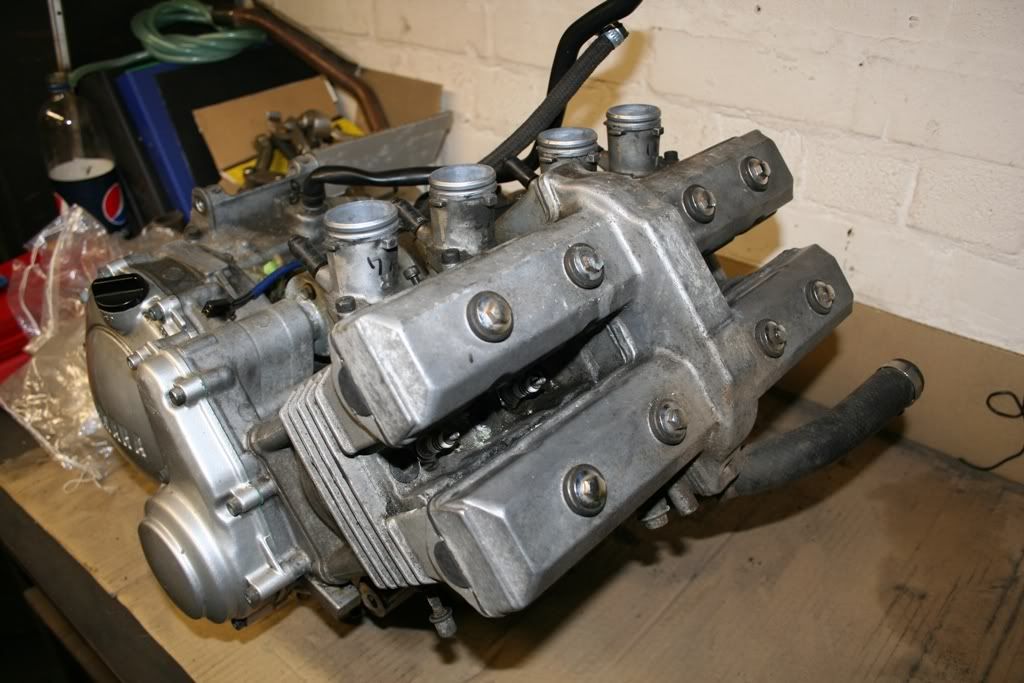
Inlet tubes removed. I'm putting the bolts and fastenings from the various parts in bags individually, labelling where they came from.
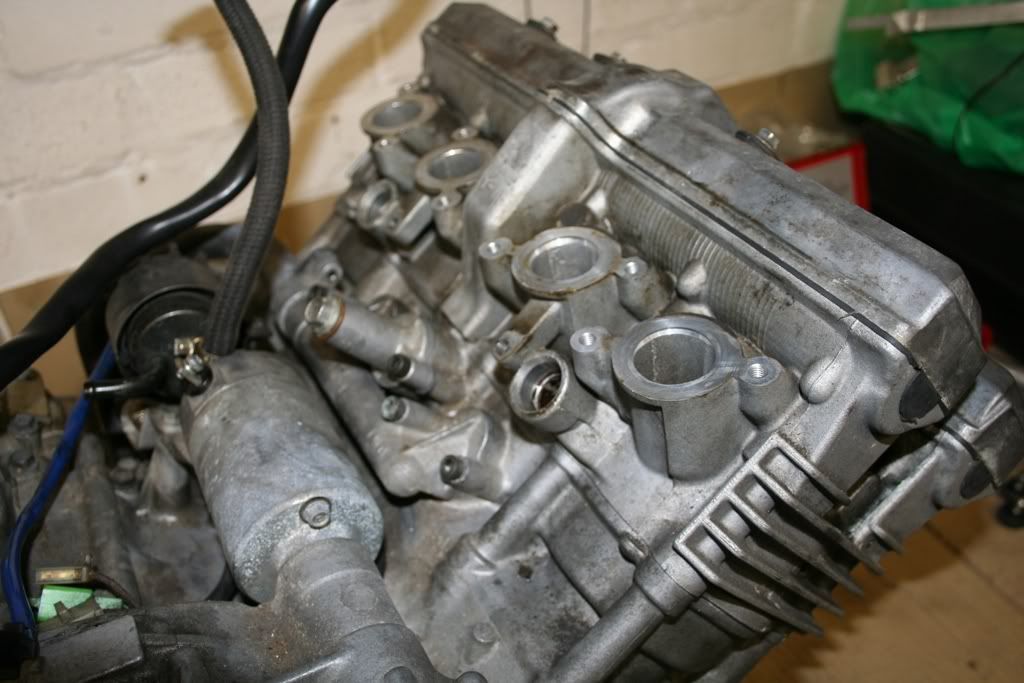
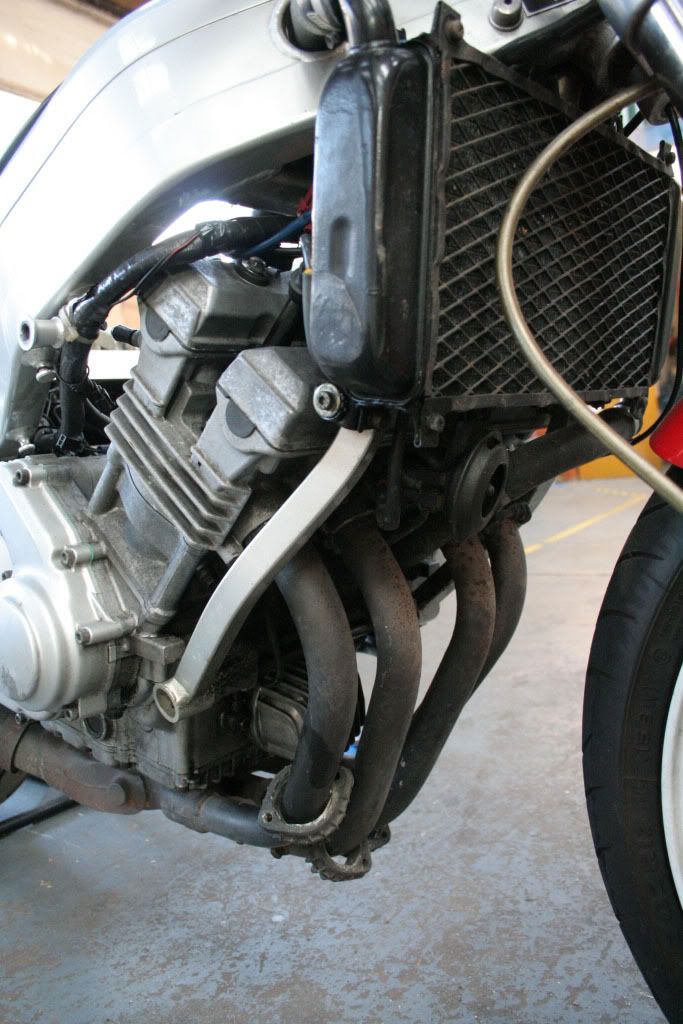
Cam cover removed. The cams, etc look OK to me.

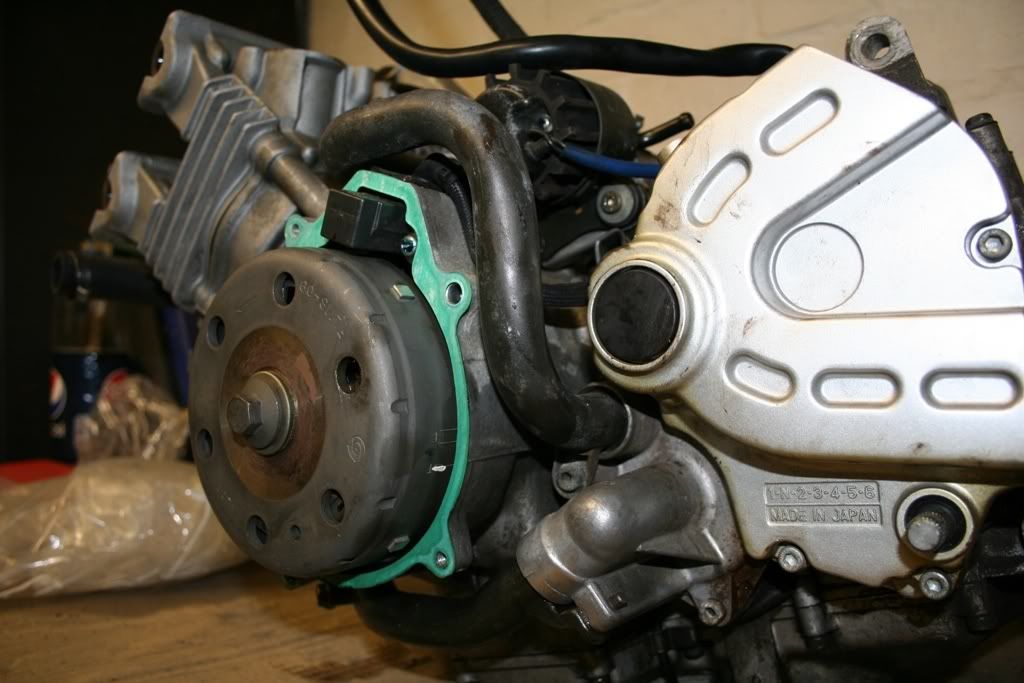
Plugs out and generator cover removed. More evidence that someone has been here before, by the look of the new gasket and white paint on timing mark.
I then turned the engine until the timing marks lined up and the engine is at TBC.
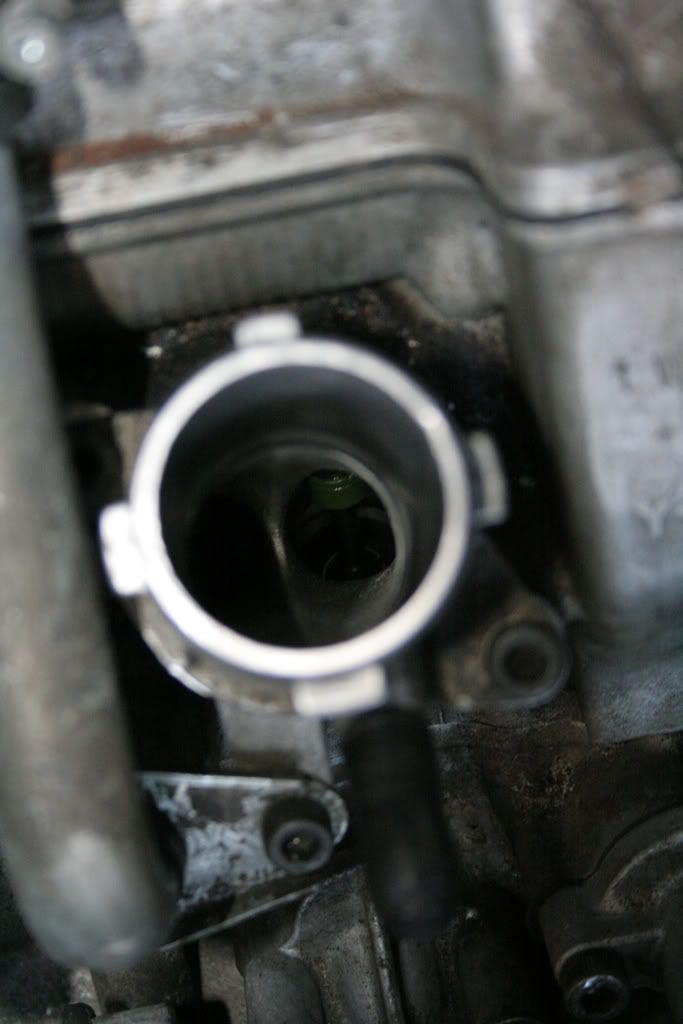
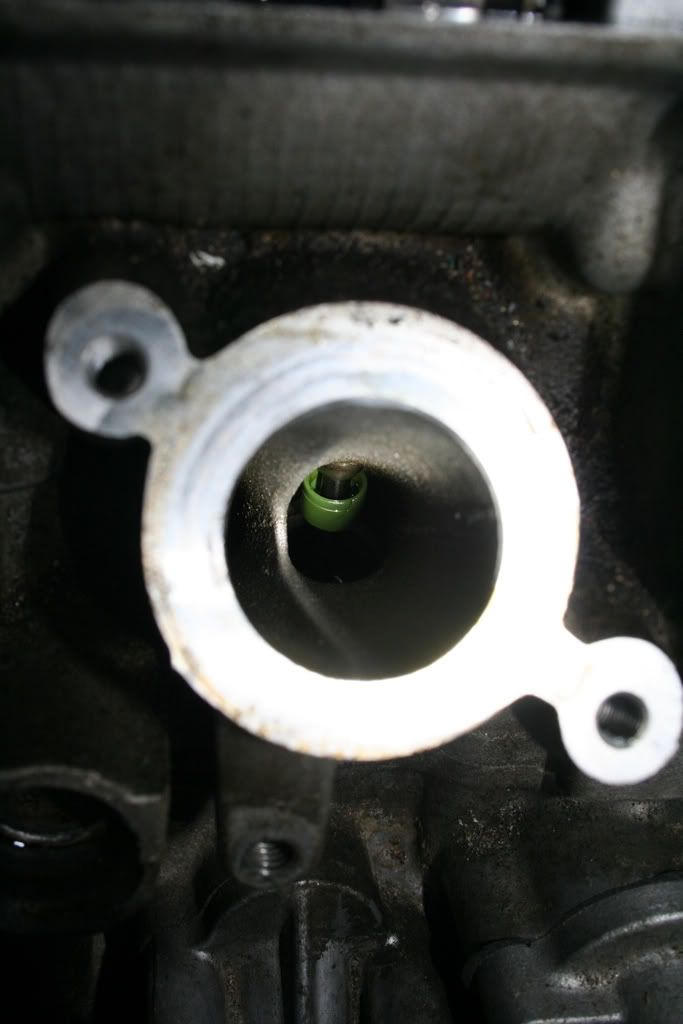
Another shot of the rogue seal! (looking down the inlet port of #2) Still no idea how it got there. I'm glad I found it when I did. Imagine what would of happened if the clip had worked its way off the valve and a) got trapped between the valve and head or b)got into the barrel The end of the clip is just visible sitting on the valve at the bottom of the inlet. It appears to be off the recess in the valve seal.
That was it for the evenings work.
Inlet tubes removed. I'm putting the bolts and fastenings from the various parts in bags individually, labelling where they came from.
Cam cover removed. The cams, etc look OK to me.
Plugs out and generator cover removed. More evidence that someone has been here before, by the look of the new gasket and white paint on timing mark.
I then turned the engine until the timing marks lined up and the engine is at TBC.
Another shot of the rogue seal! (looking down the inlet port of #2) Still no idea how it got there. I'm glad I found it when I did. Imagine what would of happened if the clip had worked its way off the valve and a) got trapped between the valve and head or b)got into the barrel
That was it for the evenings work.
-
Evilchicken0
- Site Supporter

- Posts: 5374
- Joined: Tue Apr 29, 2008 8:59 pm
- Bike owned: Bimota SB6 Yamaha FZR 3TJ x2
- Location: Lundin Taan
Re: Time for a strip down on the Bim
Nice .... I've a feeling there maybe some more pics 
-
laminator
- NWAA Supporter
- Posts: 220
- Joined: Wed Jan 26, 2011 7:51 pm
- Bike owned: 2tk,NC30, YB7
- Location: Midlands
Re: Time for a strip down on the Bim
How ever did you know that ECEvilchicken0 wrote:Nice .... I've a feeling there maybe some more pics
I've got a couple more photos to go...
-
laminator
- NWAA Supporter
- Posts: 220
- Joined: Wed Jan 26, 2011 7:51 pm
- Bike owned: 2tk,NC30, YB7
- Location: Midlands
Re: Time for a strip down on the Bim
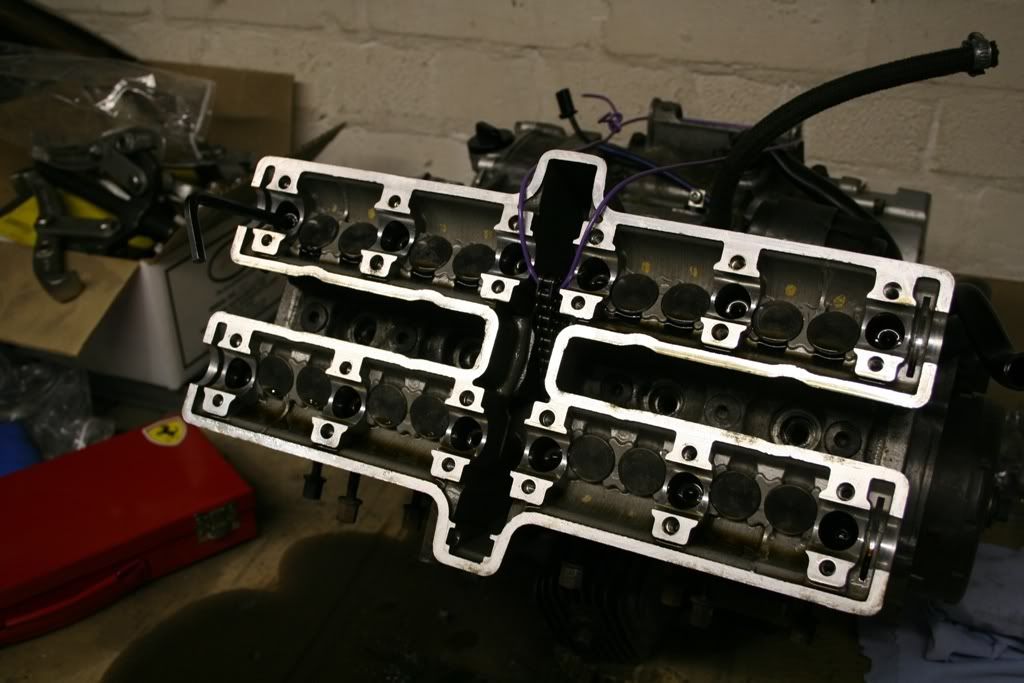
Plugs are out, engine on TDC, and cam chain tensioner removed ready to remove the cams.
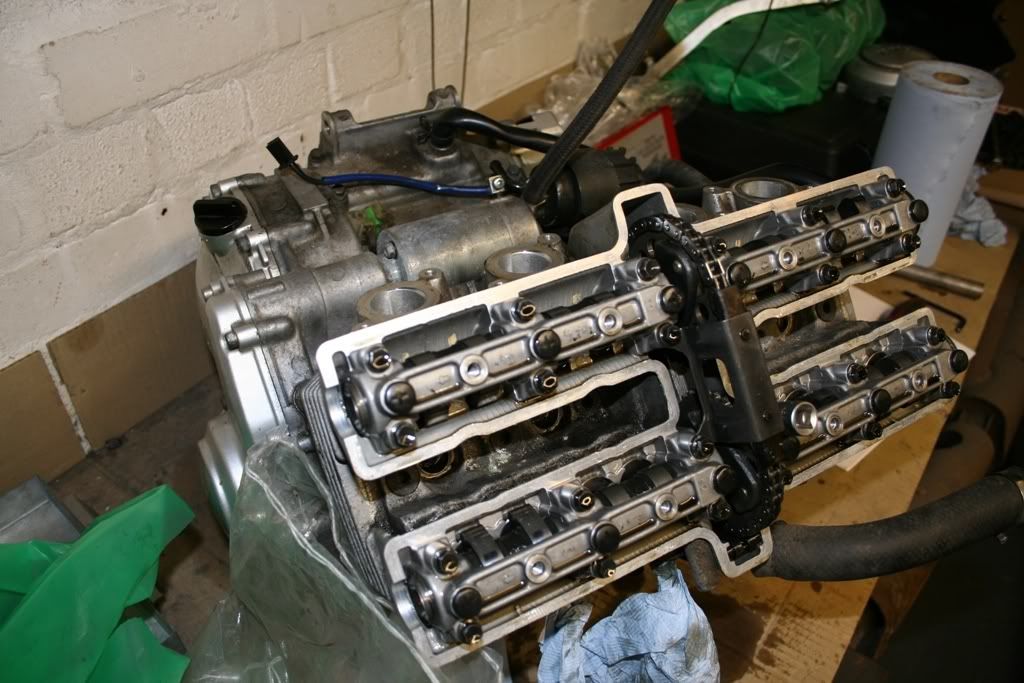
Cam chain cover and guide removed.
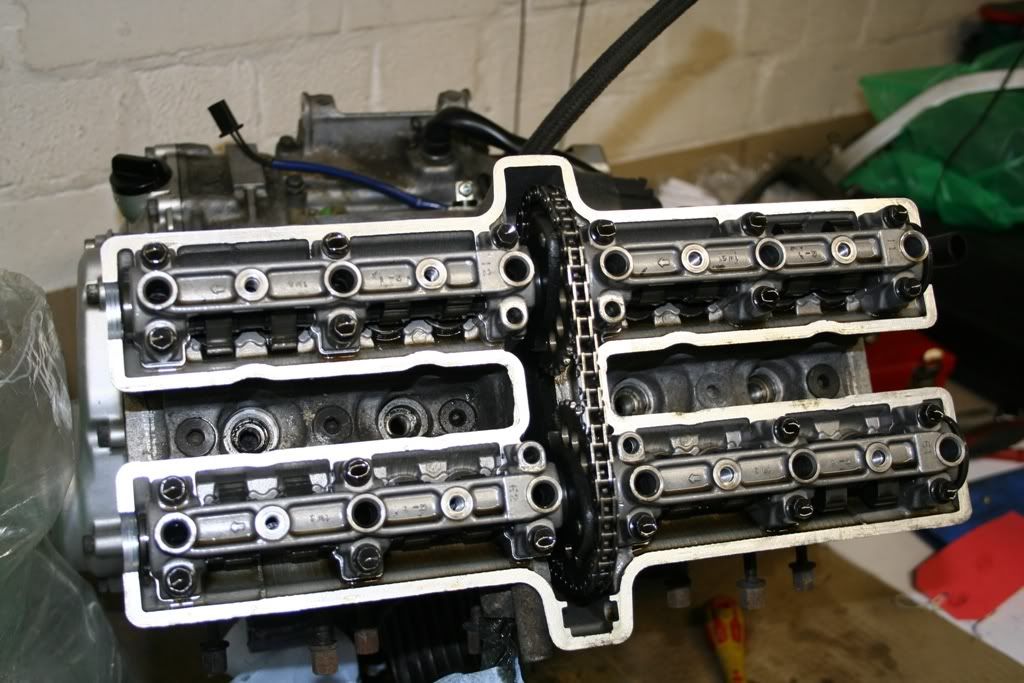
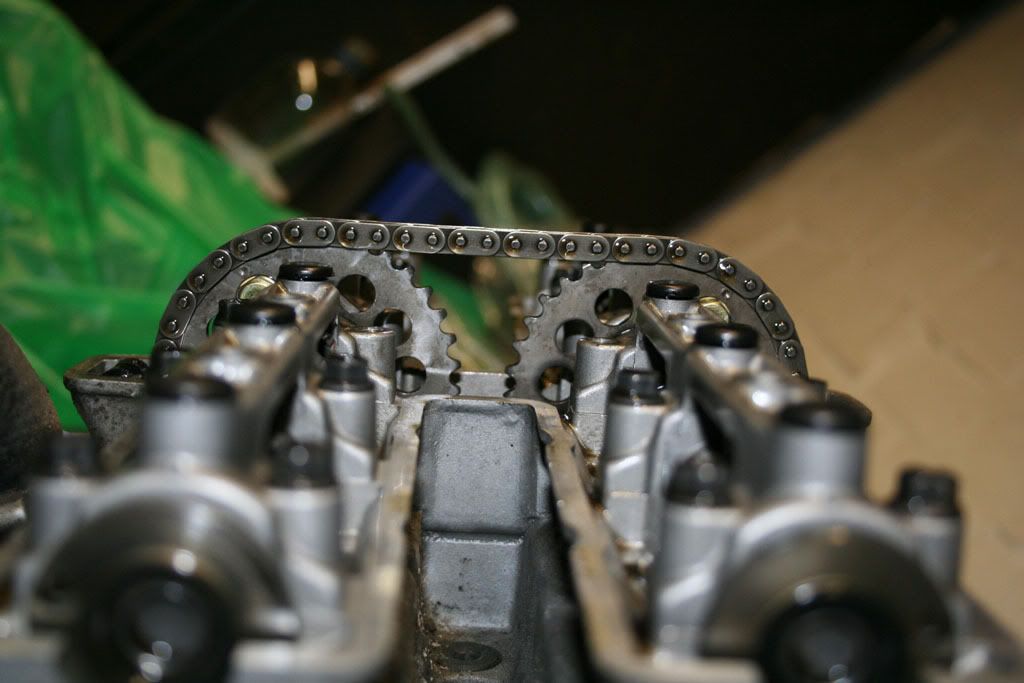
Loosened all the bolts by 1/2 a turn, working around in a criss cross pattern. Then removed the bolts completely and wired the cam chain. Inlet cam removed.
Both cams out.

That was it for the night. Next the head comes off.
Cam chain cover and guide removed.
Loosened all the bolts by 1/2 a turn, working around in a criss cross pattern. Then removed the bolts completely and wired the cam chain. Inlet cam removed.
Both cams out.
That was it for the night. Next the head comes off.
-
laminator
- NWAA Supporter
- Posts: 220
- Joined: Wed Jan 26, 2011 7:51 pm
- Bike owned: 2tk,NC30, YB7
- Location: Midlands
Re: Time for a strip down on the Bim
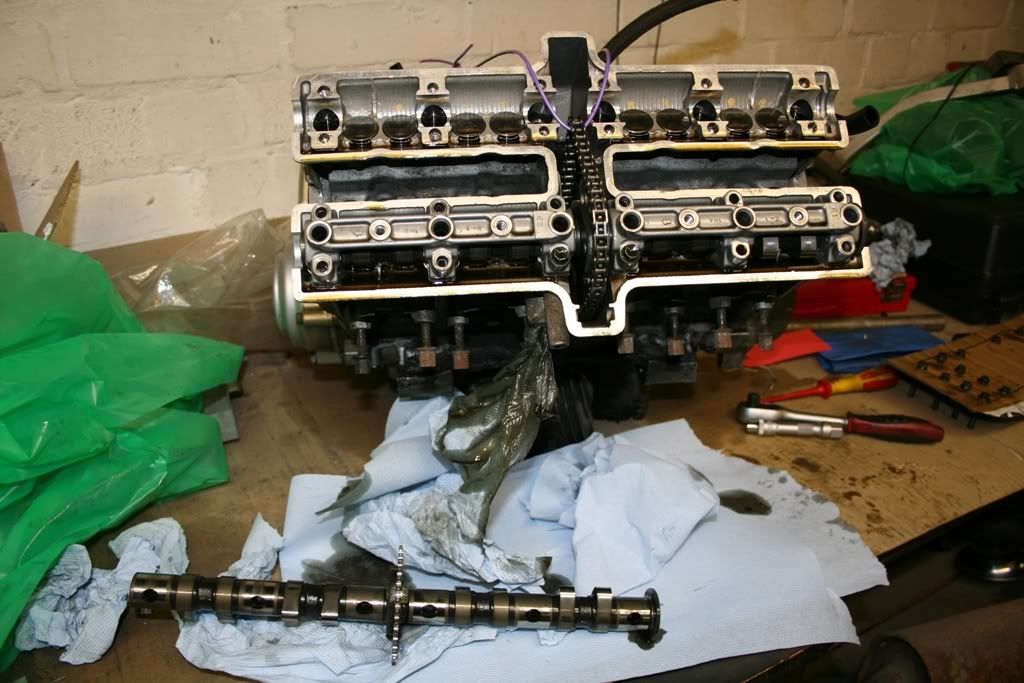
I had a bit of time after work so I decided to start and remove the head. Similar to the cams I began with loosening the nuts in a criss cross pattern by 1/2 a turn. Then started to remove the first one.....
I removed the first nut.
That was it for the night, not bad progress really.
I removed the first nut.
That was it for the night, not bad progress really.